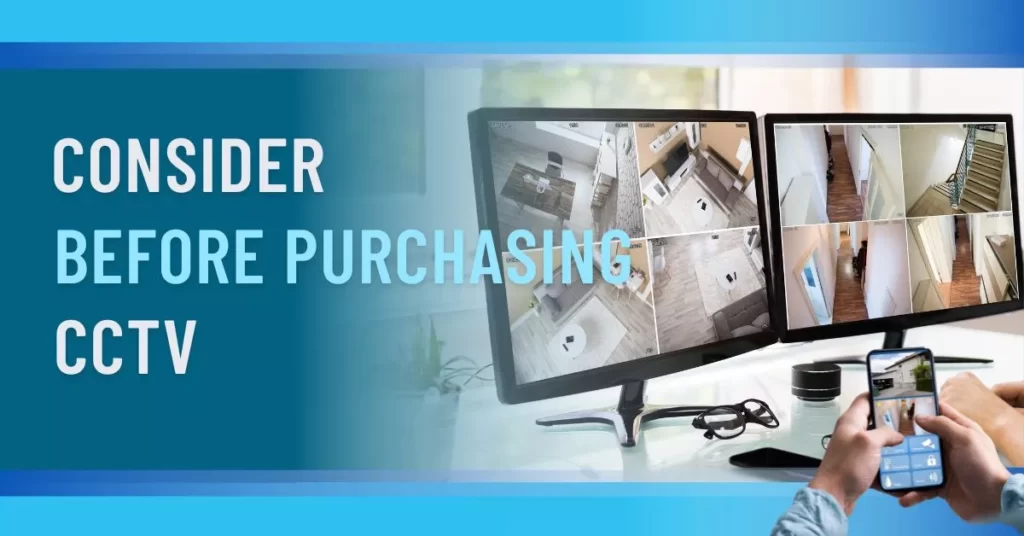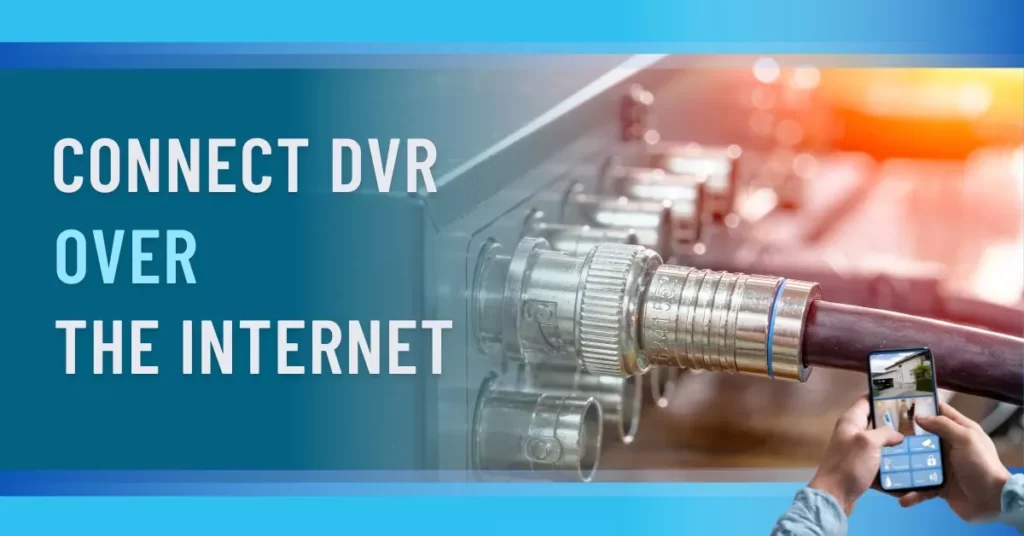
Connect CCTV DVR Over The Internet With 8 Quick Steps
Ok, so you’ve just set up your new CCTV camera system. It looks great! But now, how do you connect it to the internet so you can check in on it from anywhere in the world? Don’t worry; we’re here to help. In this blog post, we’ll show you how to connect CCTV DVR over the internet using a few simple steps. So sit back and relax – we’ll have you monitoring your property from anywhere in no time!
Steps To Connect DVR Over The Internet
1. Check your DVR’s manual or online documentation to see if it is internet-ready.
There’s nothing quite like wanting to check in on your home or business while you’re away and realizing that you can’t because your DVR isn’t internet-ready. But don’t worry; the first step is always to check your DVR’s manual or online documentation to see if it is internet-ready.
If it isn’t, don’t despair, there are plenty of other things you can do, like watching paint dry or staring at a blank wall. But if, by some miracle, your DVR is internet-ready congrats! You’re one step closer to being able to connect your CCTV DVR over the internet.
2. Connect one end of an Ethernet cable to the back of the DVR and the other end to an available Ethernet port on your router.
The second step to connect your CCTV DVR over the internet is to connect one end of an Ethernet cable to the back of the DVR. That’s right, all you need to do is physically connect the two devices, and voila!
You’ll have taken the first step towards enjoying the many benefits of a DVR-internet connection, such as being able to pause and rewind live TV, record your favorite shows, and stream content from Netflix, Hulu, and other online services. Just make sure you don’t forget this vital second step or all your hard work will be for naught.
3. Turn on the DVR and wait a few minutes for it to power up.
The Third Step To Connecting DVR Over The Internet is to Turn on the DVR and wait a few minutes for it to power up. And then, once you’ve waited a sufficient amount of time, you can finally begin the process of connecting your DVR to the internet!
Of course, if you’re not patient enough to wait a few minutes for your DVR to power up, then you might as well just give up now. After all, there’s no way you’ll be able to complete the fourth step without a functioning DVR. So why bother even trying? Just sit back, relax, and wait for your DVR to do its thing.
4. Press the “Menu” button on your remote control and navigate to the “Network” or “Internet” settings menu.
The fourth step to connecting your CCTV DVR over the internet is to press the “Menu” button on your remote control and navigate to the “Network” or “Internet” settings menu; select the “Enable Network” or “Enable Internet” option and press the “Enter.”, and select the “DHCP” option and press “Enter.” This will cause the DVR to automatically obtain an IP address from your router.
5. Select the “Save” option and press “Enter.”
The “Save” option is selected by pressing the “Enter” button. This allows the changes that have been made to be saved and applied to the system. The “Save” option is important because it helps to ensure that the settings are properly applied and that the system will work as intended. Once the “Save” option has been selected, the user will be prompted to reboot the system in order for the changes to take effect.
6. Reboot the DVR by pressing the “Menu” button, selecting the “Setup” menu, and then selecting the “Reboot” option.
The sixth step in connecting your DVR to the internet is to reboot it. To do this, simply press the “Menu” button, select the “Setup” menu, and then choose the “Reboot” option. Once you’ve completed these steps, your DVR will be connected to the internet and ready to stream live television! And that’s all there is to it! Just sit back, relax, and enjoy your favorite shows!
7. Once the DVR has rebooted, open a web browser on your computer and type in the IP address of the DVR. This can be found in the network settings menu of the DVR.
Congratulations! You have made it to the seventh step in connecting your DVR to the internet. This step is simple: all you have to do is open a web browser on your computer and type in the IP address of the DVR. You can find this in the network settings menu of the DVR. Once you have entered the IP address, hit enter, and voila! You should now be able to view your DVR footage from anywhere in the world. All that is left to do now is sit back and enjoy the fruits of your labor. Thanks for choosing our product!
8. You should now be able to access your DVR over the internet!
Great job! You’ve followed all the steps and can now finally access your DVR over the internet. Just one more thing to do: relax and enjoy watching your CCTV camera system footage from the comfort of your own home. Thanks for following all the steps, and have fun!
Conclusion
In this blog post, we looked at how you can connect your CCTV DVR over the internet and why you would want to do that. Stay with our CCTV Blogs to learn more about CCTV Cameras and how to keep your home or business safe.