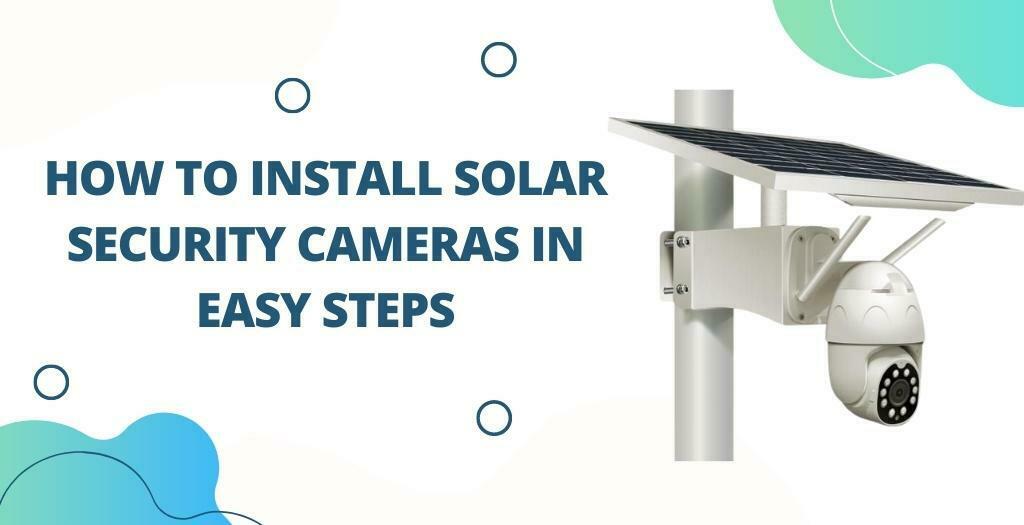
Install Solar Security Cameras In 7 Quick Steps
Installing solar-powered CCTV cameras is a great way to reduce your carbon footprint while protecting your property. In this blog post, we will show you how to install solar security cameras in just seven steps. Thanks for reading!
Steps To Install Solar CCTV Cameras
1. Choose the right location for your solar CCTV cameras.
One of the most important aspects of installing a solar CCTV camera is choosing the right location. The location should be sunny and free of obstacles, such as trees or buildings that could block the sun. In addition, the camera should be mounted at a height that will give you the desired field of view.
2. Decide how many solar CCTV cameras you need
Deciding how many solar CCTV cameras you need depends on a few factors. First, you need to consider the size of the area you want to monitor. If you have a large property, you may need more than one camera to get full coverage.
Second, you need to think about the level of activity in the area. If there is a lot of foot traffic, you may need more than one camera to capture all the action. Finally, you need to consider your budget.
Solar CCTV cameras can be expensive, so you’ll need to make sure you can afford the number of cameras you need. Once you’ve considered all these factors, you should have a good idea of how many solar CCTV cameras you need to purchase.
3. Mount your solar CCTV cameras in the chosen location
Before you can install your solar security cameras, you need to choose the right location for them. The camera should be mounted in a spot where it will have a clear view of the area you want to monitor. Once you’ve selected the location, you’ll need to use a drill to make holes for the mounting screws.
Be sure to use a level when drilling the holes so that your camera will be positioned correctly. Finally, insert the mounting screws and tighten them until the camera is secure in place.
4. Position your solar CCTV cameras correctly.
Once you have determined the best location for your solar CCTV cameras, it is time to position them correctly. The angle of the camera is important in order to get a clear view of the area you wish to monitor. If the camera is positioned too low, it will not be able to see over obstacles such as walls or fences.
Likewise, if the camera is positioned too high, it will have a limited field of view. The best way to determine the correct angle for your solar CCTV camera is to experiment with different positions until you find one that provides a clear view of the desired area. Once you have found the perfect position for your CCTV camera, be sure to secure it in place so that it cannot be easily moved or tampered with.
5. Connect your solar security cameras to the power source.
The next step to installing a Solar CCTV Camera is to Connect your solar CCTV cameras to the power source. Most solar CCTV cameras come with everything you need to get started, including solar panels, batteries, and an AC adapter.
To connect your solar CCTV camera to the power source, start by screwing the provided mounting bracket into the side of the camera. Next, use the provided cable to connect the solar panel to the power input on the back of the camera. Finally, plug the AC adapter into an outlet and then into the DC input on the back of the camera.
6. Test your solar CCTV cameras to ensure they are working properly.
After the solar CCTV cameras have been installed, it is important to test them to ensure they are working properly. One way to test the cameras is to use a light meter. By pointing the camera at a light source and taking a reading, you can determine if the solar security camera is receiving enough light to function properly.
Another way to test the cameras is to use a surveillance monitor. This will allow you to see if the camera is picking up objects clearly and transmitting the signal properly. By testing the solar CCTV cameras, you can ensure that they are working properly and that they will be able to provide quality footage.
Testing With The help of CCTV Camera Apps
After you have installed your solar CCTV cameras, it is important to test them to ensure they are working properly. The best way to do this is with the help of a CCTV camera app.
There are many different apps available, but we recommend using iCamViewer. This app allows you to view live footage from your camera, as well as playback recorded footage. It also provides a range of useful features, such as the ability to receive alerts if motion is detected.
Once you have installed and set up the app, simply point your camera at the area you wish to monitor and wait for the live feed to appear. If everything is working as it should, you will now be able to keep an eye on your property without needing to constantly check the CCTV footage yourself.
7. Keep an eye on your solar CCTV footage to look for any suspicious activity.
Keep an eye on your solar CCTV footage to look for any suspicious activity by regularly checking the footage and being vigilant for anything out of the ordinary. If you see anything suspicious, report it to the authorities immediately. In addition, make sure to keep your solar CCTV system well-maintained by regularly cleaning the camera lenses and ensuring that the batteries are charged through Solar power. By taking these simple steps, you can have Remote CCTV System Surveillance to keep your home or business safe from potential threats.
Conclusion of How To Install Solar Security Cameras
After reading this helpful blog, you should know how to install solar CCTV cameras in 7 steps. With our easy tips, you can do it yourself without any problems! Stay with our CCTV Camera blogs at Credible Technology to learn more about CCTV Cameras and to assemble them.